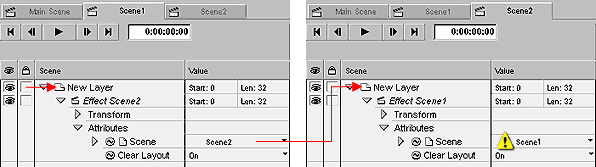
When you nest scenes, you organize your project into a hierarchy. In its simplest form, nesting means you combine two or more scenes into one main scene which will be shown when you play the demo. When you nest a scene inside another scene, it becomes an effect (showing the child scene) within that parent scene.
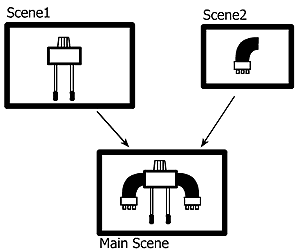
You can use nesting to reuse anything you build. For example, if you create an animation and you want to use it ten times in a project, you only have to build the animation once. Build it in its own scene, then drag it into any other scene as many times as you want.
Complex projects can be split into multiple parts and edited separately. Each part would be a new scene. Then at the final stage, the demo is composed in one part, possibly adding some transitions and overlay graphics if necessary.